
#1 · Small camera outings
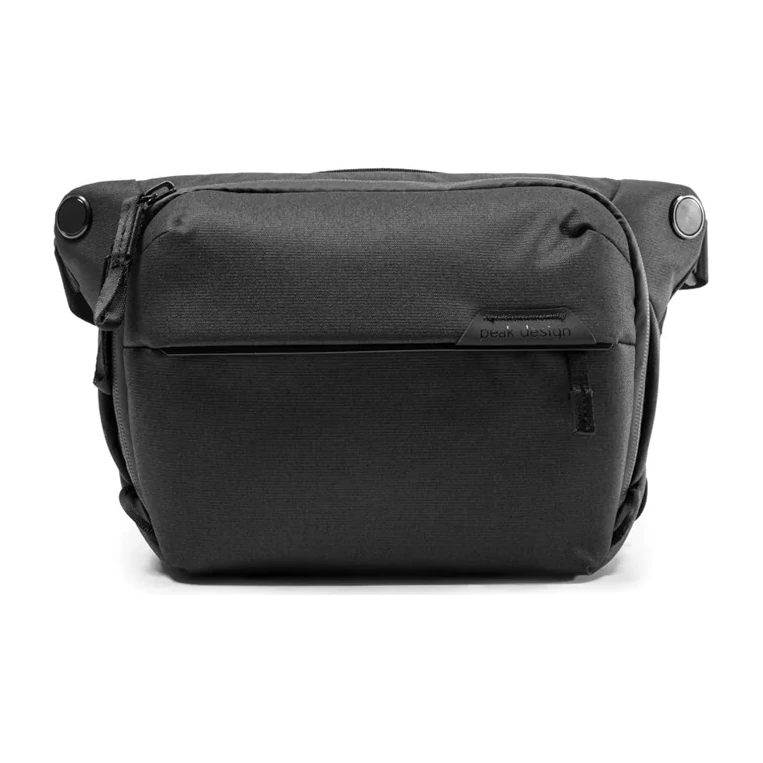
Peak Design Everyday Sling 6L
- Best for
- An assembled camera and a modest set of extras when crossbody access matters.
- Trade-off
- The 6L label does not guarantee fit for a long mounted lens or a large camera grip.
Travel cameras and photography
The short answer
Measure your actual camera kit first. Check the Peak 6L for small outings, Lowepro for separate work storage, or Think Tank for shoulder-bag access.
Last updated October 16, 2026
| Decision | #1 · Small camera outings Peak Design Everyday Sling 6L | #2 · A fuller working kit  Lowepro Fastpack Pro BP 250 AW III | #3 · Shoulder-bag access 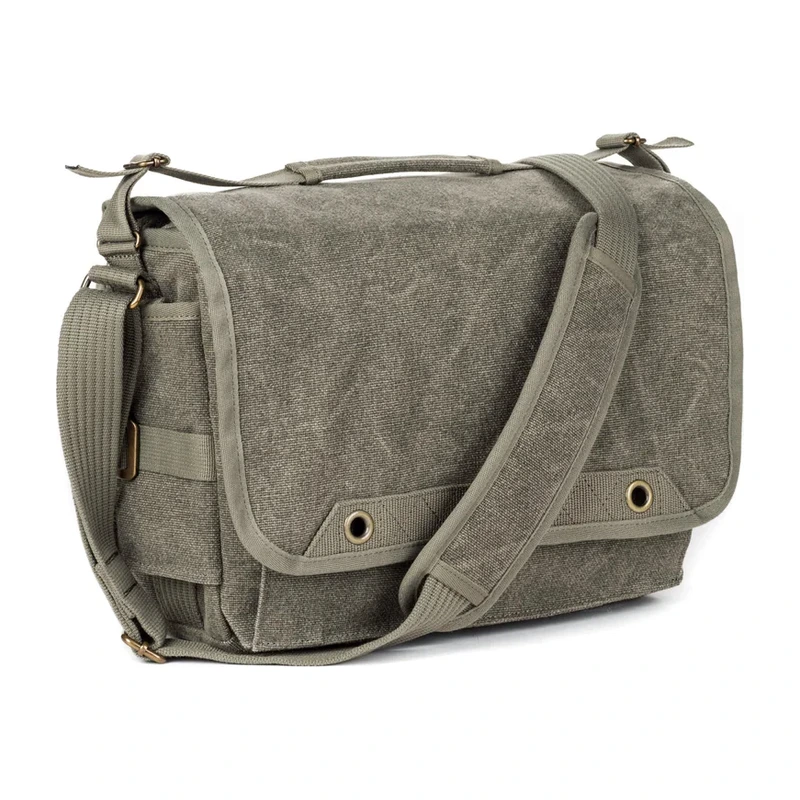 Think Tank Retrospective 7 V2.0 |
|---|---|---|---|
| Best for | An assembled camera and a modest set of extras when crossbody access matters. | A larger camera kit with separate laptop and personal-item storage. | Someone who wants a flap-style camera bag with a separate zipped opening and adjustable dividers. |
| Trade-off | The 6L label does not guarantee fit for a long mounted lens or a large camera grip. | It adds substantial bag weight, and its outer size must be checked against every carrier's cabin limits. | A shoulder bag concentrates the load on one side, and neither the flap nor inner zip guarantees theft protection. |
| Next step | View at Peak DesignRead our analysis | View at LoweproRead our analysis | View at Think TankRead our analysis |
#1 · Small camera outings
#2 · A fuller working kit
#3 · Shoulder-bag access
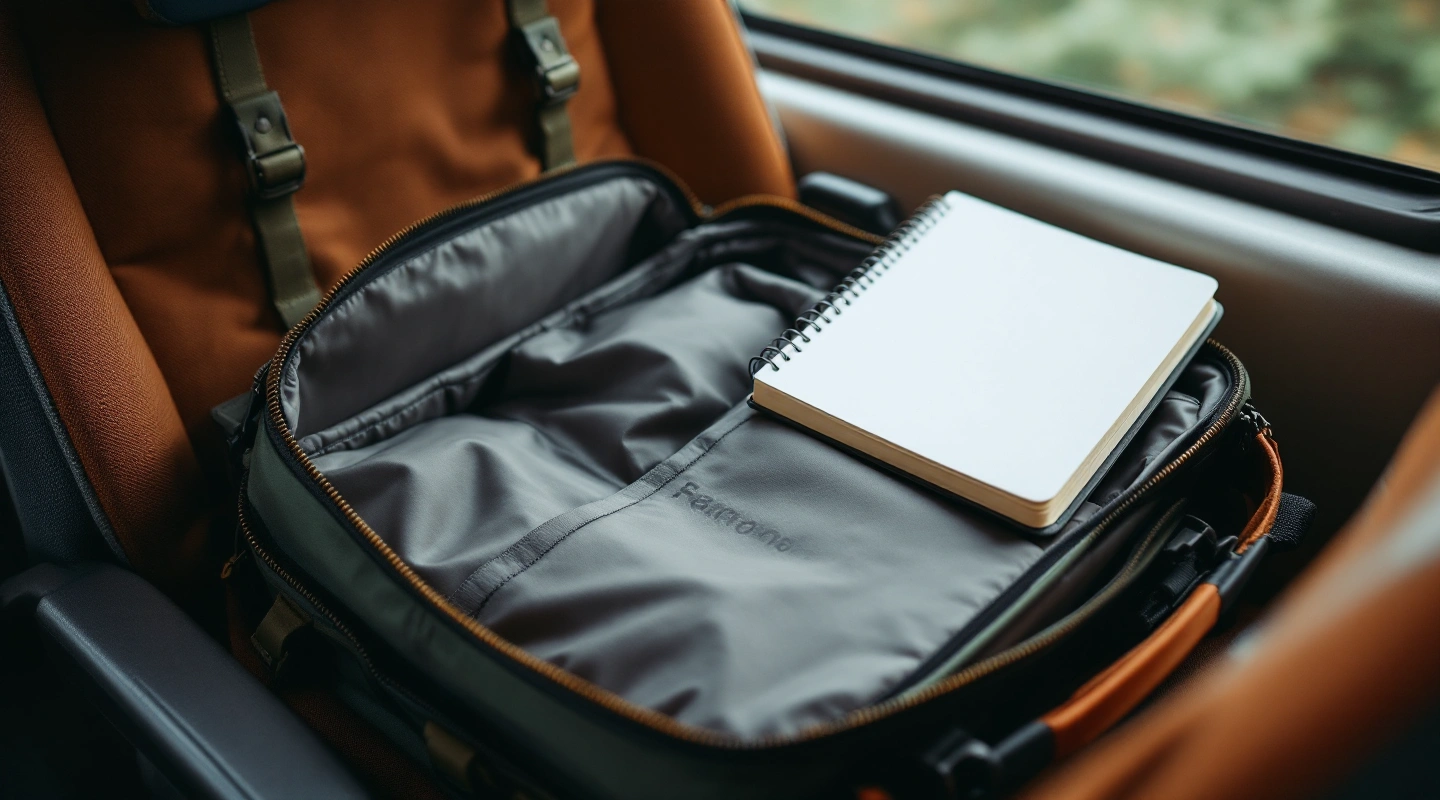
The best camera bag for travel fits the camera you will carry, not the kit you might buy someday. These choices cover a small sling, a backpack with separate storage and a shoulder bag. Measure the assembled camera before choosing a format or trusting a volume label.
Comfort, weather protection and airline acceptance depend on your load and itinerary. Measure the complete camera kit before choosing a bag.
Peak Design Everyday Sling 6L Peak Design Everyday Sling 6L
Our verdict:
Small camera outings
Best for an assembled camera and a modest set of extras when crossbody access matters.
View at Peak DesignKeep in mind: The 6L label does not guarantee fit for a long mounted lens or a large camera grip.
The Everyday Sling comes in several sizes. This offer is the black 6L version. It uses removable FlexFold dividers to separate gear. That is useful when you want to adjust the space instead of filling a fixed camera mold.
A sling gives a different access pattern from a backpack. Choose it for a small working kit you want close at hand. Do not assume it will replace a full daypack. Space used by a camera cannot also hold a jacket or bulky charger without affecting the fit.
Check the current 6L measurement drawing against your longest assembled item. Allow for padding, divider position and the camera strap. Retail volume and outside size are not clear internal space. Do not order a tight fit from the model name alone.
Lowepro Fastpack Pro BP 250 AW III Lowepro Fastpack Pro BP 250 AW III
Our verdict:
A fuller working kit
Best for a larger camera kit with separate laptop and personal-item storage.
View at LoweproKeep in mind: It adds substantial bag weight, and its outer size must be checked against every carrier's cabin limits.
Lowepro's US specifications distinguish a 28 x 15 x 25.5cm camera area from the whole bag. The outer dimensions are 31.5 x 23.5 x 54cm. The listed mass is 1.45kg before you add gear.
Those figures make it a different proposition from a small sling. The separate top area can carry personal items. The QuickDoor opening provides side access to the camera area. The included All Weather cover is useful equipment, but it does not make an open bag or every seam waterproof.
The maker describes a 15-inch laptop compartment. Check the actual laptop dimensions, especially with a sleeve. Screen diagonal is not the machine's outer width or thickness. Also check whether you can reach the camera without placing the bag on a wet or dirty surface.
Think Tank Retrospective 7 V2.0 Think Tank Retrospective 7 V2.0
Our verdict:
Shoulder-bag access
Best for someone who wants a flap-style camera bag with a separate zipped opening and adjustable dividers.
View at Think TankKeep in mind: A shoulder bag concentrates the load on one side, and neither the flap nor inner zip guarantees theft protection.
Think Tank lists the Retrospective 7 V2.0 with an inner space of 31.8 x 22.4 x 13.8cm. Its outer size is 34.3 x 24.1 x 15cm. The listed weight is 1.2kg including accessories. The selected offer is the Pinestone version.
The bag includes an inner zipped opening beneath the main flap and a separate rain cover. These are practical features to compare with a simple open messenger bag. They do not remove the need to keep the bag closed and attended. No anti-theft result is claimed.
Check the laptop pocket independently from the main compartment. The maker gives specific pocket dimensions. A listed sample kit does not prove that your own devices fit together. Allow room for the divider layout and for pulling the camera out without force.
Lay out the camera with the lens you intend to leave attached. Include the grip or cage, plus any plate you will keep on it. Measure the widest and longest points. Then measure each spare lens with its caps. A catalogue picture of a bare body can hide the actual space your kit needs.
Add a spare battery and memory-card case to the layout. Decide what must have its own padded space. Smaller items should not rub against a camera screen. A divider is useful only when it leaves enough space to insert and remove gear without pushing on controls.
A small sling works when quick access and a limited load are the priorities. A backpack can spread a larger load and add space for work items. A shoulder bag gives another route to the main area. None is universally more comfortable for every body or trip.
If you already own a daypack, compare a suitable padded insert before buying another whole bag. Check how the insert affects access and available room. It can be a sensible route when camera use is occasional. It can be awkward if you need to remove it repeatedly for every shot.
Cabin-bag rules concern the packed exterior, including bulges and protruding straps. Camera fit concerns the padded interior. Passing one check does not pass the other. Measure the loaded bag and read the operating airline's rules for your exact ticket.
Do not assume a personal-item allowance covers a camera bag in addition to other bags. Rules vary with carrier and fare. A compact bag can still be another item. Keep a plan for essential equipment if a cabin bag is taken at the gate.
A rain cover adds a barrier when fitted as instructed. It does not mean you can leave the bag open in a downpour. Wet equipment also needs care before storage. Read the bag and camera makers' instructions rather than assuming a weather label settles both.
Keep access points closed in crowded places. An inner zip can add a step before access, but it is not a security guarantee. Do not leave the bag unattended. Neither a plain appearance nor a product's “secure” wording establishes protection against theft.
Compare the camera compartment against your packed camera and lens, then choose the carrying format. Listed bag mass excludes your equipment. Check the maker's drawing when fit is close; example kits cannot establish the fit of your own. Choose the travel camera before sizing its bag.
Measure it with the lens and any grip or plate left attached. Compare those measurements with the padded compartment, not only the outside size. Allow space for dividers and easy removal. A volume label or a maker's sample camera does not prove the fit of your own assembled kit.
That depends on the operating carrier, ticket and packed bag. Check the allowed number of items and size limits for the actual fare. Measure the loaded exterior, including bulges and straps. A travel-ready description from a bag maker does not override an airline's current cabin-baggage rules.
No blanket waterproof claim is made here. Fit and use a cover as the maker instructs, while keeping access points closed. Read the camera's own weather limits too. A bag cover does not protect gear that is outside the bag or make every wet-use situation suitable.
A sling can suit a small kit you want to reach quickly. A backpack can provide separate space for a larger load and personal gear. Try the loaded format if possible, using a seller with suitable return terms. Comfort and access depend on your body, gear and use.